Answer
- To change the eraser size in Illustrator, open the Tools panel and select the Eraser tool. Then, click and drag to adjust the size.
How to Change Eraser Size in Adobe Illustrator
How to change the size of eraser tool in illustrator || Shortcut Keys|| Pro Tech Channel
To increase the size of the eraser in paint Windows 10, you can follow these steps:
Open Paint and click on the “Eraser” tool.
In the “Options” bar, select the “Eraser Size” option and change the size of the eraser to your desired value.
Click on OK to apply the changes.
There are a few ways to make the eraser bigger in Photoshop. One way is to go to the tools menu and choose “eraser size.” This will open up the eraser size dialog box, where you can specify the size of the eraser.
Another way is to go to the layers menu and choose “eraser mask.” This will open up the eraser mask dialog box, where you can specify how much of the image should be erased.
To erase in Illustrator, click the eraser tool in the toolbar. (You can also press “E” on your keyboard.) To erase a large area, drag the cursor over the area you want to erase and release the mouse button.
There is no such thing as a magic eraser tool in Illustrator.
There are a few ways to fix the eraser tool in Illustrator. You can use the Selection tool and click on the eraser tool icon in the Tools panel. Then, you can select the Erase option from the toolbar. Another way to fix the eraser tool is to press Ctrl+Z (Windows) or Command+Z (Mac) to undo your last action with the eraser tool and then redo it.
There is no one-size-fits-all answer to this question, as the size of the eraser may vary depending on the particular Adobe Animation project you are working on. However, some tips on how to make the eraser bigger in Adobe Animation can include: increasing the size of the eraser brush in your graphics software; using larger erasers when creating strokes or highlights; and using a clipping mask to enlarge specific areas of an image.
There are a few possible explanations. One possibility is that the Eraser was originally designed as a drawing tool and the outline illustrator was added later on as an enhancement. Another possibility is that the outline illustrator is a feature that was accidentally added to the Eraser.
There is no one-size-fits-all answer to this question, as the size of an eraser will vary depending on the type of eraser and the user’s preferences. Some common methods for adjusting the size of an eraser include using a credit card or a ruler to adjust its width or length, or using fingers to pinch it in different places.
There are a few ways to increase brush size in paint. One way is to use a larger brush head. Another way is to use more paint.
To resize the eraser in Paint, first click on the paintbrush in the toolbar and select the Eraser tool. Then drag the size of the eraser handle to change its size.
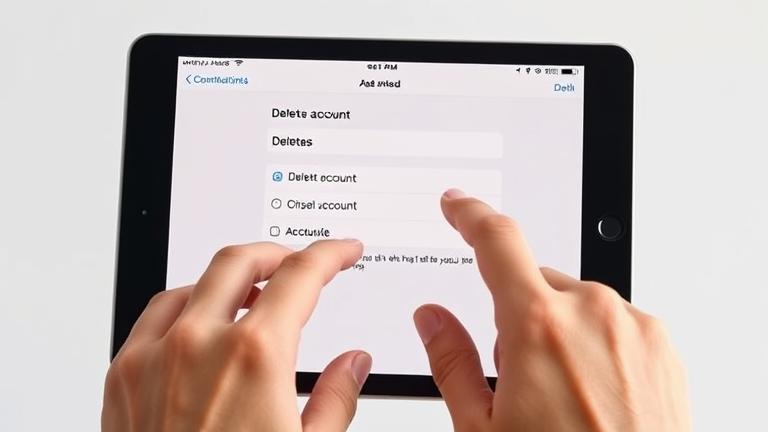
You can try using a fingernail or a credit card to enlarge the eraser on your iPad.
To change the eraser shape in Photoshop, follow these steps:
Open Photoshop and select the eraser tool (E).
Click on the “Shape” tab and select one of the available shapes from the drop-down menu.
To change the size of the eraser, drag the slider to your desired size.
4.
In Illustrator, create a new document and select the Rectangle tool. Draw a small rectangle and then press the Delete key to erase the middle of the rectangle. Select the Pencil tool and click and drag inside the newly-created rectangle to create a square.
To change the eraser shape in Illustrator, follow these steps:
Open the Illustrator file that you want to edit.
Select the Eraser tool (E).
In the Options Bar, select the Shape option from the drop-down menu.
Select one of the following shapes from the list: Round, Rectangle, or Ellipse.
Click OK to save your changes.
The Eraser tool is located in the Tools panel of Illustrator.