Understanding Google Drive Photos and Storage
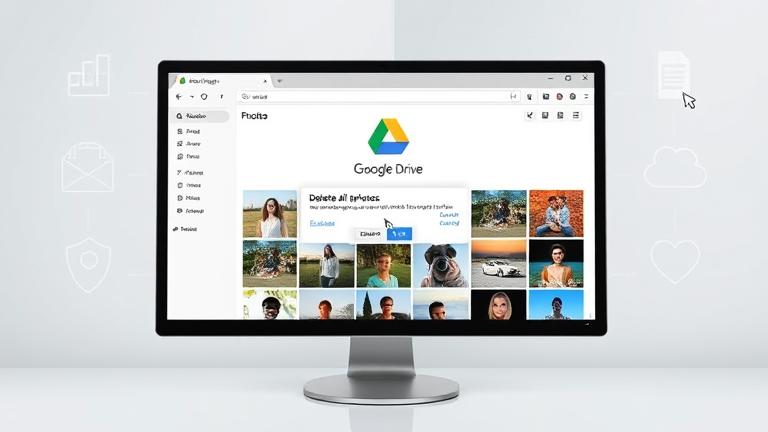
Google Drive offers a versatile cloud-based platform for managing photos and videos, providing users with the flexibility to upload, organize, and access their media from any device with an internet connection. Photos stored in Google Drive can encompass personal memories, work-related images, screenshots, and other uploaded media files. The platform supports various storage configurations, including personal accounts, shared albums, and team drives, enabling users to categorize and organize their collections efficiently. Since Google Drive stores all data on Google’s secure servers, users benefit from robust security measures that protect their photos from unauthorized access and local device failures.
For more detailed information on managing your storage and photos in Google Drive, visit the Google Drive support.
Preparing for Mass Photo Deletion
Before undertaking a large-scale deletion of photos, it is essential to organize and back up your images to prevent accidental loss of valuable memories. Effective organization includes creating dedicated albums grouped by themes or dates, labeling photos with descriptive titles, and periodically reviewing your collection to eliminate blurry or duplicate images. Utilizing tools like Google Photos or Apple Photos can aid in filtering and sorting images for easier management.
Backups are crucial—consider using cloud services such as Google Photos, Dropbox, or OneDrive for automatic backups that ensure your photos are safe even if your local device fails. External drives or USBs provide additional protection by allowing manual backups of important images. Establishing a regular backup schedule, such as weekly or monthly, guarantees your photo library remains up-to-date and secure.
To prevent important photos from being accidentally deleted, double-check your selections before executing mass deletions, and utilize archive or hide options as alternatives to deletion. Additionally, most photo management platforms feature recycle bins or Trash folders, which temporarily store deleted items before permanent removal. Enabling confirmation prompts and creating backups prior to bulk deletions further safeguard your memories.
Implementing these preventive strategies ensures your digital photo collection remains organized, protected, and free from unintended loss. For more tips on managing backups and preventing accidental deletions, visit this resource.
Step-by-Step Guide to Permanently Deleting Photos
- Select Your Photos: Open Google Drive on your computer or mobile device. Locate the photos you intend to delete and select each one individually or use checkboxes to select multiple files. Ensuring correct selection helps prevent deleting unintended images.
- Delete the Photos: Right-click on your selected files and choose ‘Remove’ or click the trash bin icon. Confirm the deletion prompt to move the photos to the Trash folder.
- Empty the Trash: Navigate to the ‘Trash’ folder within Google Drive. Click on ‘Empty trash’ to permanently delete all files within that folder. Confirm the action to ensure the files are completely removed from your storage.
- Verify Permanent Deletion: Refresh your Google Drive view to confirm the files no longer appear. Remember, files in the trash can often be recovered until the trash is emptied; after that, recovery options are limited.
Additional considerations include revoking app access and reviewing linked services for security. For comprehensive guidance, visit Google Drive Help.
Troubleshooting Common Issues and Confirming Deletion
After deleting photos, it’s vital to verify that they have been permanently removed from all storage locations. Check for residual files or data in ‘Recently Deleted’ or trash folders—on iOS devices, for example, photos in ‘Recently Deleted’ remain recoverable until manually deleted. Similarly, cloud services like Google Photos or AWS may exhibit residual data in their dashboards or logs if not fully purged.
For platform-specific verification, log into your account or device and review media sections to ensure no copies or recoverable data remain. Waiting for a set period allows backend processes to finalize deletions, especially on social media platforms like Instagram or Facebook. If uncertainty persists, utilize third-party data verification tools or contact customer support for official confirmation.
Regular audits of your account’s storage and device settings can help identify any recoverable files. For example, on iPhone, checking ‘Recently Deleted’ albums ensures no valuable images are hidden there. Likewise, reviewing logs on cloud platforms confirms that deletions have been processed successfully.
By diligently following these verification steps, you can confidently confirm that your photos have been permanently erased. For tailored instructions based on your platform, consult resources such as Deleting Solutions.
