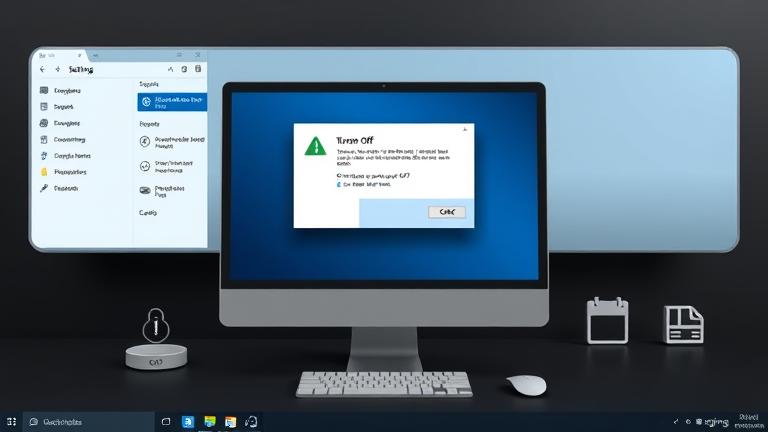
Step-by-Step Guide to Disabling UAC
Disabling User Account Control (UAC) can be a useful troubleshooting step or a preference for advanced users who need to avoid prompts during specific operations. However, it’s important to understand the risks involved, as disabling UAC reduces your system’s security barrier against unauthorized changes. Here’s how you can completely turn off UAC:
Method 1: Using the Control Panel
- Open the Start menu, type “Control Panel”, and press Enter.
- Navigate to “System and Security”.
- Click on “Security and Maintenance”.
- On the left, select “Change User Account Control settings”.
- Move the slider all the way down to the bottom position labeled “Never notify”.
- Click “OK” to save the changes.
- You may be prompted with a UAC confirmation; confirm your choice.
- Finally, reboot your computer to apply these changes.
For visual guidance, you can watch this tutorial .
Method 2: Via Registry Editor
- Press Win + R, type “regedit”, and press Enter.
- Navigate to
HKEY_LOCAL_MACHINE\SOFTWARE\Microsoft\Windows\CurrentVersion\Policies\System. - Locate the “EnableLUA” key.
- Double-click it and change its value from “1” to “0”.
- Click “OK” and close the Registry Editor.
- Restart your computer for the changes to take effect.
Warning: Disabling UAC significantly reduces your system’s security. Proceed cautiously and only if you understand the implications.
Security Risks of Turning Off UAC
Turning off User Account Control exposes your system to increased security hazards. UAC acts as a safeguard, prompting for permission before allowing programs to make system changes. Without this barrier, malicious software can seamlessly gain administrative privileges, potentially leading to data theft, system corruption, or malware infections. Cybersecurity experts warn that disabling UAC makes your system more vulnerable to exploits and unauthorized modifications, emphasizing that UAC should generally remain enabled to protect sensitive information and maintain stability here.
In essence, the reduction of security layers can lead to easier access for malware and unauthorized users, which makes routine activities riskier and increases the likelihood of system compromise.
Managing UAC Settings Without Fully Disabling
Not everyone wants to completely disable UAC; instead, many prefer to customize its behavior to balance security with convenience. Several methods allow for this:
1. Using the Control Panel (Windows 10 and 11)
- Open Control Panel, then go to “System and Security” > “Security and Maintenance”.
- Click on “Change User Account Control settings”.
- Adjust the slider to a desired level:
- Set to higher levels for maximum protection.
- Lower the level for less intrusive prompts.
- Click “OK” to apply your preferences.
2. Using Group Policy Editor (Windows Pro/Enterprise/Education)
- Press Win + R, type “gpedit.msc”, and hit Enter.
- Navigate to Computer Configuration > Windows Settings > Security Settings > Local Policies > Security Options.
- Adjust the setting “User Account Control: Run all administrators in Admin Approval Mode” to Enabled or Disabled.
- For granular control, set the behavior of UAC prompts via related policies such as “Behavior of the elevation prompt”.
- Restart your computer to activate these settings.
3. Creating Scheduled Tasks for Elevated Privileges
This approach enables specific applications to run with elevated privileges without disabling UAC altogether:
- Open Task Scheduler.
- Create a new task, check “Run with highest privileges”.
- Set triggers and actions as necessary.
- Use the generated task’s shortcut to run applications with elevated rights safely.
4. Registry Tweaks for Fine Control
- Open Registry Editor (regedit).
- Navigate to
HKEY_LOCAL_MACHINE\SOFTWARE\Microsoft\Windows\CurrentVersion\Policies\System. - Modify “ConsentPromptBehaviorAdmin” to values like 0 (no prompts), 1 (credentials), or 2 (prompt for consent).
- Backup registry before making changes.
- Restart your system to apply settings.
For detailed instructions and more options, see our comprehensive Windows security guide.
Troubleshooting When UAC Is Disabled
Disabling UAC can cause various issues, such as applications not requesting appropriate permissions or certain security features failing. If you encounter problems, consider restoring UAC to its default setting:
Re-enable UAC
- Open the Start menu, search for “Change User Account Control settings”.
- Set the slider back to one of the default or higher notification levels.
- Click “OK”, then restart your computer.
Using Registry to Restore UAC
- Open regedit.
- Navigate to
HKEY_LOCAL_MACHINE\SOFTWARE\Microsoft\Windows\CurrentVersion\Policies\System. - Ensure the value of “EnableLUA” is set to 1.
- Reboot to activate UAC recovery.
If certain applications do not run correctly after UAC changes, try running them in compatibility mode or with administrator privileges. Additionally, keep your Windows updated and scan regularly for malware to maintain security. For detailed troubleshooting, visit Microsoft’s official troubleshooting guide.


