Step-by-Step Guide to Removing Your Google Account from Samsung Galaxy J6 Plus
Removing your Google account from your Samsung Galaxy J6 Plus is a straightforward process, but it’s essential to follow each step carefully to ensure all your data is handled securely. Before starting, remember that disconnecting your Google account will disable services such as Gmail, Google Play Store, and Google Maps on your device. To prevent data loss, back up important information beforehand.
Steps to Remove Your Google Account
- Open Settings: Swipe down from the top of your screen to access the notification panel, then tap the gear icon to open the Settings menu.
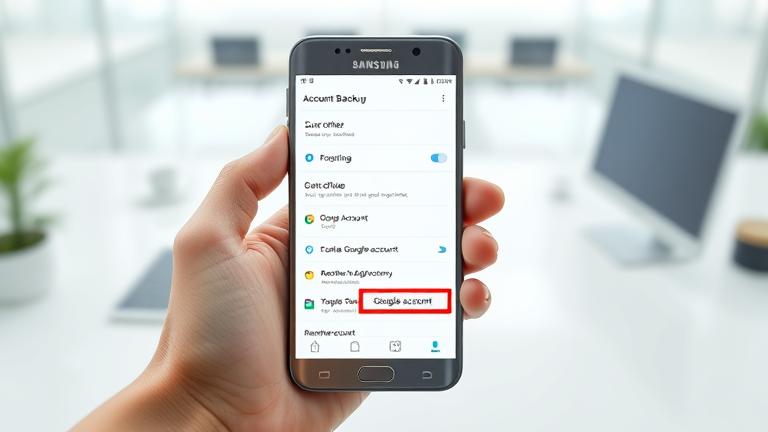
- Navigate to Accounts: Scroll through the Settings menu and select “Accounts and backup” or simply “Accounts,” based on your device version.
- Select Google Account: From the list of accounts, tap on “Google.”
- Choose the Account: Tap on the email address associated with the Google account you wish to disconnect.
- Remove Account: Tap the three-dot menu icon in the top right corner and select “Remove account.”
- Confirm Removal: A confirmation prompt will appear. Tap “Remove account” again to finalize.
- Finalize: Wait for the process to complete. Your Google account will now be disconnected from the device.
For detailed visual guidance, refer to the video above. Please note that following these steps might prompt you to enter your device PIN or password to authorize the removal. Remember, removing your account deletes associated data from your device, so ensure you back up any critical information first.
Common Challenges and How to Troubleshoot Them When Removing Google Accounts
Users often encounter various issues during the account removal process. Common problems include error messages indicating the account is in use, restrictions from linked services, or platform glitches. Here are some troubleshooting tips:
- Verify Account Ownership: Ensure you know the correct passwords and have access to recovery options to avoid authentication failures (Google Account Help).
- Unlink Linked Services: Disconnect any apps or services linked to your Google account, such as social media or payment apps, to prevent conflicts (Unlinking apps from Gmail).
- Clear Cache and Cookies: If using a browser or device app struggles, clear cache and cookies to eliminate temporary conflicts.
- Update Software: Make sure your device’s OS and apps are updated to the latest versions to prevent compatibility issues.
- Try Different Networks or Devices: Sometimes network restrictions or device-specific bugs interfere; testing from another network or device can help diagnose the problem.
- Contact Support: If problems persist, contact customer support, providing detailed error messages and account information for assistance.
Internal guides can also help in addressing linked device removal or subscription cancellations, such as canceling subscriptions or removing linked devices.
Precautions to Take Before Removing a Google Account on Your Samsung Device
Prior to removing your Google account, safeguard your data and ensure a smooth process by completing these precautions:
- Backup Your Data: Save essential emails, contacts, photos, and transaction histories. Export or download your data via official tools, such as Google Takeout (Google Photos account deletion guide).
- Disconnect Linked Services: Unlink your account from third-party apps or platforms like social media, payment gateways, or other services to avoid access issues later (Unlinking apps from Gmail).
- Cancel Active Subscriptions: Ensure that all paid subscriptions tied to your Google account are canceled to prevent ongoing charges after deletion (Cancel subscriptions).
- Review Recovery Options: Update or remove outdated contact info like recovery email addresses and phone numbers to prevent lockouts (Gmail recovery tips).
- Notify Contacts: Inform important contacts about your account changes, especially if you use this account for communication.
- Understand Data Retention Policies: Some services may retain data even after account deletion. Be aware of platform-specific retention policies (Instagram data deletion timeline).
- Verify Deactivation: After removing the account, verify that it has been deactivated across all linked services and devices to enhance security.
- Follow Official Procedures: Always adhere to the official removal process specified by Google and Samsung to avoid scams or errors (Facebook account deletion).
How to Secure Your Data and Settings After Removing Your Google Account
Once your Google account has been removed, it’s crucial to manage your remaining data securely and configure your device settings to protect your privacy:
- Remove Personal Data: Delete emails, contacts, files, and cache stored on your device to prevent potential data recovery (Google Gmail account deletion guide).
- Unlink Third-party and Social Media Accounts: Disconnect any linked apps or platforms such as Facebook or third-party services to restrict data sharing (Unlinking Google from apps).
- Adjust Privacy Settings: Review and modify device privacy and security settings—disable location services, restrict app permissions, and set profiles to private where possible.
- Update Security Credentials: Change passwords and enable two-factor authentication on remaining accounts for added security.
- Secure and Delete Backups: Ensure cloud backups are encrypted or deleted if they contain sensitive data related to the previous account.
- Monitor Residual Data: Regularly check linked accounts and services for any lingering data or profiles and remove or deactivate them.
Following these steps will help maintain your privacy and ensure your device and data remain secure after your account removal. For more detailed guidance tailored to specific platforms or services, consult their official support documentation.
Sources
- Deletingsolutions – How Do I Cancel My Uber Eats Account?
- Deletingsolutions – How Do I Delete My Google Photos Account?
- Deletingsolutions – How Do I Delete My Facebook Account on the App?
- Deletingsolutions – How Do I Recover My Gmail Account on Android?
- Deletingsolutions – How Long Does It Take to Delete an Instagram Account?
- Deletingsolutions – How Do I Unlink an App from Gmail?
- Deletingsolutions – How Do I Delete My Google Photos Account?
- Deletingsolutions – How Do I Recover My Gmail Account on Android?
- Google Support – Manage Your Google Account